WordPress
Installing WordPress on MCC Server
You will install WordPress on the MCC server using the one-click method available throught the Plesk control panel. Plesk is a web based control panel similar to cPanel. The simple configuration in Plesk allows a server administrator to set up new websites, e-mail accounts, and DNS entries through a web-based interface.
A key concept to remember is that you will have a Plesk account that allows you to log in and access the Plesk control panel. This is similar to your hosting account. Plesk will use a unique username and password. Once WordPress is installed, you will be creating an administrator username and password that is unique to your WordPress admin access. Please document these usernames and password so that you can access both areas.
Beginning in the spring of 2025, multi-factor authentication (MFA) was enabled on the Plesk servers to enhance the security of your Plesk account. Passwords are the first layer of security. MFA adds a second one to your Plesk authentication process. At the moment, the second security layer is represented by one-time passwords generated by an MFA app on your smartphone. These one-time passwords are also called verification codes. To use MFA on your Plesk account, you will need to download the Google Authenticator app on your smart phone.
Logging in to Plesk and Setting up MFA:
- Download the Google Authenticator app on your smart phone.
- When the server administrator created your Plesk accounts, an email should have been automatically sent to your MCC email address. It would have had the subject "<plesk.mccinfo.net> Notification of the customer creation." The email contained your username and a link to retrieve your password, which is essentially going to force you to reset it. You may have also received an email from your instructor telling you your username and your initial password. If you know what your initial password is, you can use it when logging into the Plesk control panel rather than retrieving your password.
Go to the Plesk control panel using the Plesk Control Panel URL that was included in the email you received from your instructor and log in using the username and password that was emailed to your MCC email account by your instructor. Based on the quarter when your Plesk account was created, you will use a different Plesk Control Panel URL as indicated below. If your site was created before Fall of 2020, please contact Guillermo Rosas (grosas@mccneb.edu) to find out where your Plesk account resides:
Quarter Plesk Control Panel URL Fall 2024 http://psn21.mccinfo.net:8443 Spring 2024/25 http://psn22.mccinfo.net:8443 Fall 2025 http://psn23.mccinfo.net:8443 Spring 2025/26 http://psn21.mccinfo.net:8443
If you receive a message stating "Your Connection is not Secure", click the Advanced button, click Add Exception, and then click Confirm Security Exception. (Note: the screen capture below is based on using the Firefox browser. If you are using a different browser, your screens and the exact steps to add an exception may vary)

- You should be taken to the login screen for the Plesk control panel. Enter your username and password.

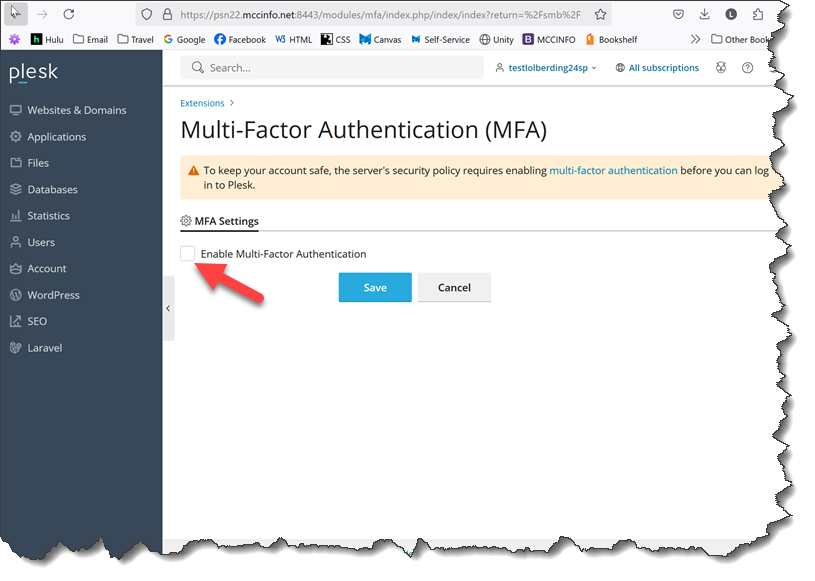
- Once logged in, you will see the MFA screen. You are required to click the check box to Enable Multi-Factor Authentication.
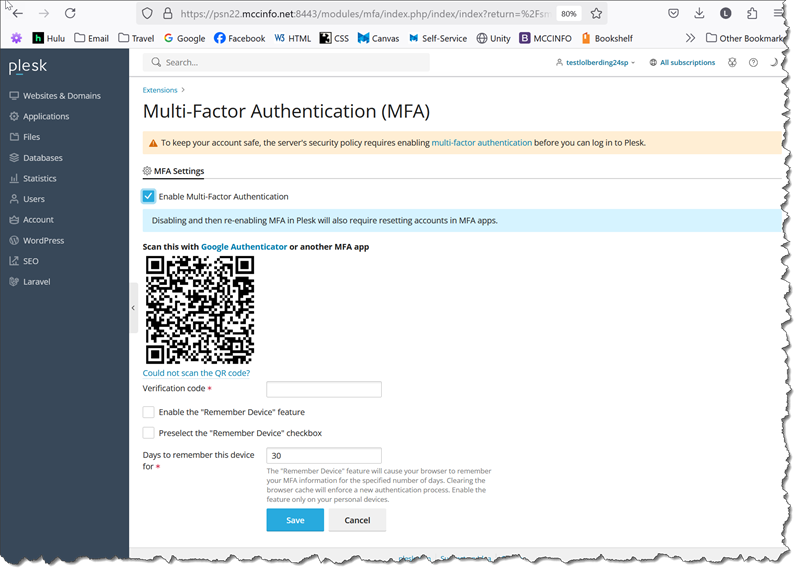
- When you Enable Multi-Factor Authentication, you will see the following screen shown below. To retrieve the Verification code, you will use the Google Authenticator app on your smart phone by completing these steps:
- Open the Google Authenticator app on your smart phone
- tap the + sign at bottom right to add a new website.
- select Scan QR Code at bottom right
- hold your phone up to the QR code on the website and scan it or manually enter the code (Allow your camera access if prompted)
- this will automatically establish a connection between the website and the app and a 6 digit verification code will be generated. This code will only be active for a short period of time.
- go back to your computer and enter the 6 digit verifiation code in to the Multi-Factor Authentication screen. You can also select the options to "Remember Device" so that the MFA information will be remembered for the specified time period.
- Click the Save button.
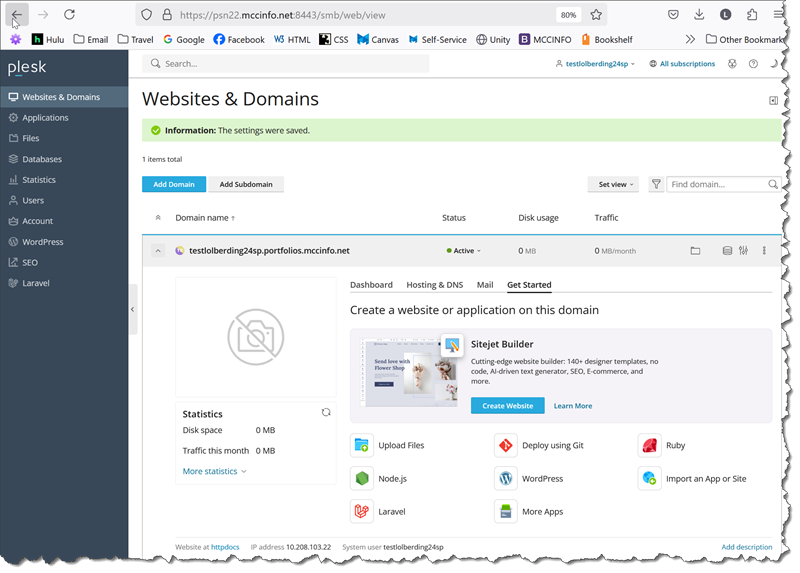
- Once successfully logged in, you will see the Plesk control panel
Note: The next time you log in to the website, have your phone handy and use the one-time password code that appears in Microsoft Authenticator to authenticate your log in.
Installing WordPress
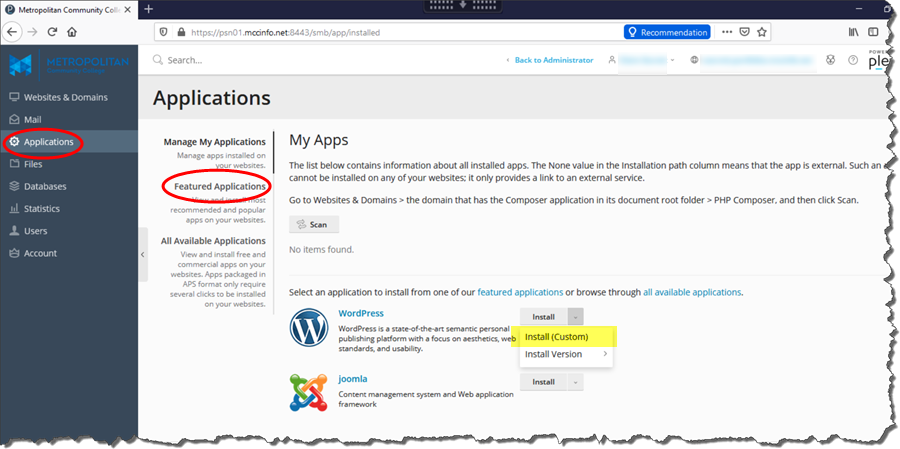
- Click Applications in the Menu on the left. If WordPress doesn't appear at the bottom of this screen, click Featured Applications
- To perform a custom install of WordPress, click the Install button next to WordPress and select Install (Custom) in the drop down menu. If you are not seeing the WordPress Install button, select Featured Applications
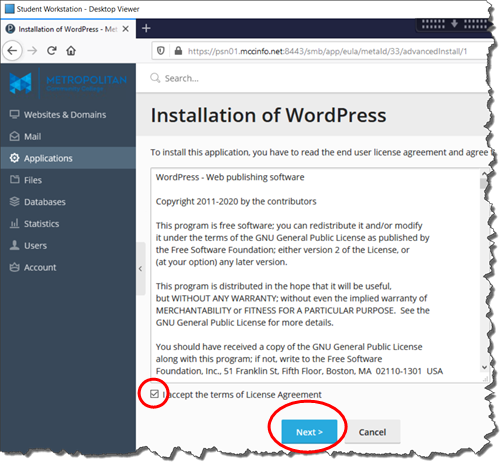
- Accept the license agreement and select Next
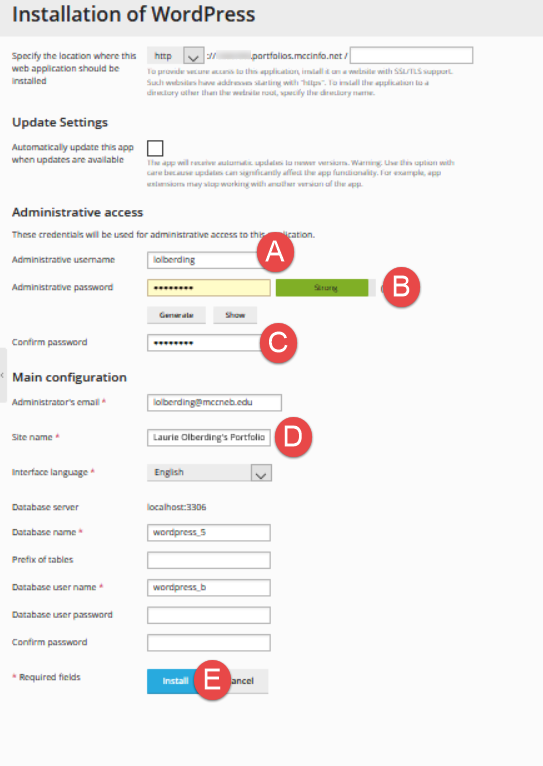 In the Installation of Wordpress settings window, make the following changes:
NOTE: The first time you install WordPress, it should be installed in the root folder of your site as shown below in the location info. All future installs will need to be installed in a subfolder by adding a folder name in the first text entry box at the end of the path.
- Enter your username (I suggest using the same username and password you are using for the Plesk control panel)
- Enter a password (the server requires the password strength to be strong)
- Confirm your password
- Change the Site name* to be "Your Name's Portfolio" (using your first and last name). This can always be changed in the WordPress Settings.
- Click Install
- If you are prompted to install Plugins, select No, thanks
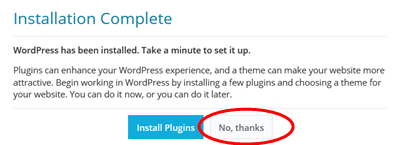
- When WordPress is successfully installed, you will see the WordPress Installation screen.
- A few things to note is that WordPress was installed in the root folder of your site located at http://username.portfolios.mccinfo.net (replace username with your username. To veiw your site, you could click the URL from the WordPress Installation screen shown above or simply enter the URL in the address bar of any browser.The custom site name you defined will be used as the Site Title for your WordPress site.
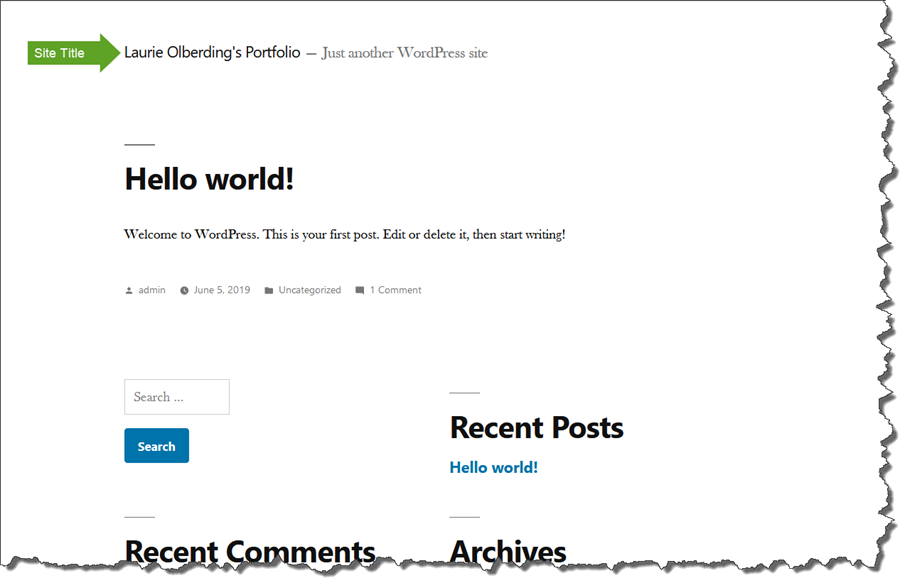
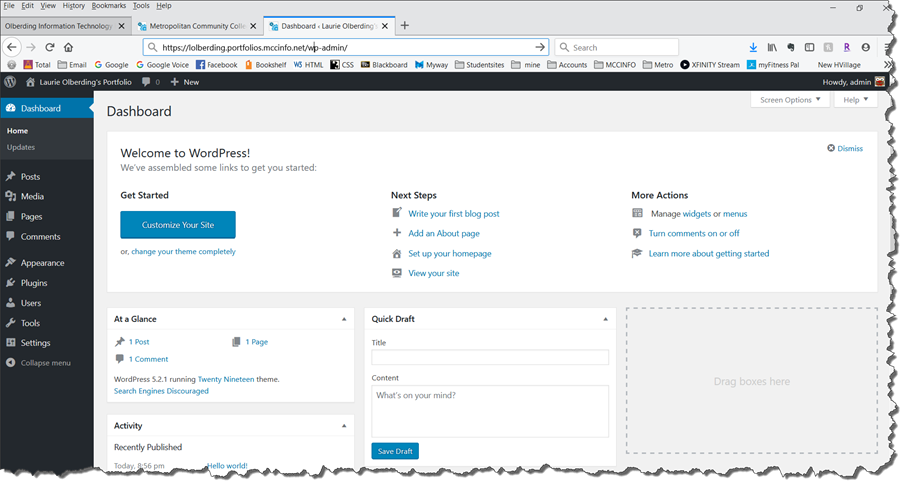
- To log into your WordPress administrator Dashboard, you would simply add /wp-admin to the end of the URL (i.e. http://username.portfolios.mccinfo.net/wp-admin). You will log in using your WordPress username and password that you set up during the installation.
Updated March 6, 2025