WordPress
Migrating a Site Using All-in-One WP Migration Plug-in
IMPORTANT: There have been issues using Microsoft Edge and Internet Explorer. So use Firefox when completing these steps.
- Install the new plugin named All-in-One WP Migration plugin. You can view videos at https://wordpress.org/plugins/all-in-one-wp-migration/
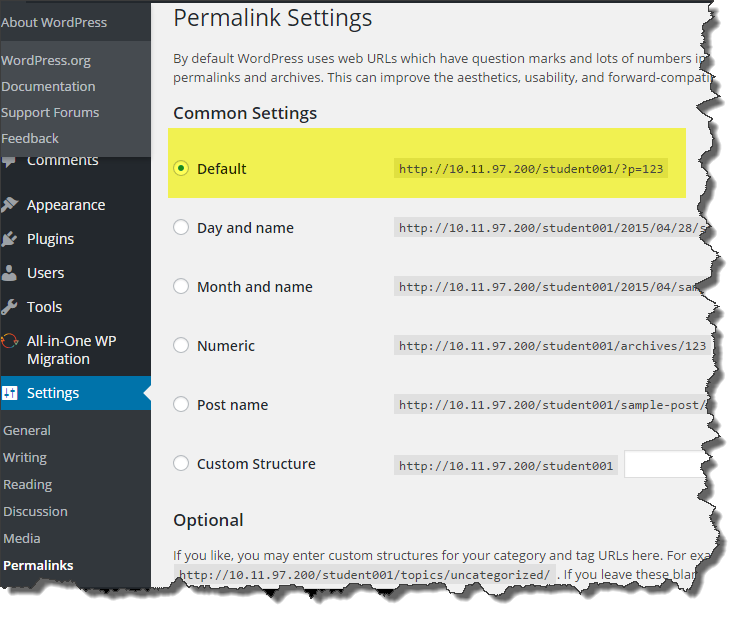
- Prior to completing your site back-up, it is highly recommended that you change your permalink settings back to the Default setting to avoid issues when migrating your site to a new server.
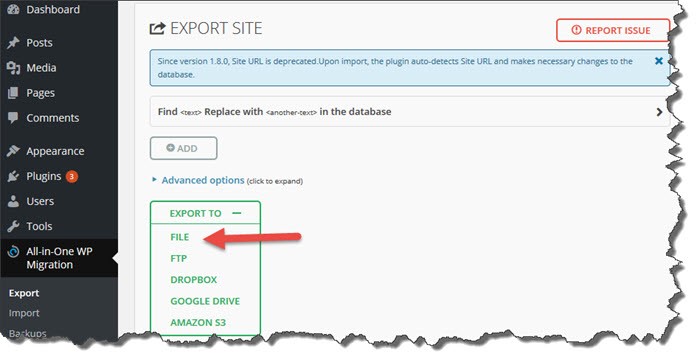
- Export your site to create a new backup. Save the exported site to a File
- When the export is complete, you will get a message with a Download or Close button available. If you click the Download button, you and save the file to your local drive. Clicking the Close button simply closes this message box.

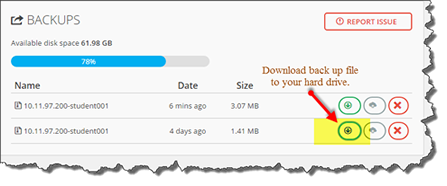
- Regardless of the previous selection, the backup file is saved on the server and is available under Backups
NOTE: You will want to backup your site frequently so that you always have a current backup available. It is good practice to save this file to your local drive just in case something would happen to your WordPress site and you could not access the backup on the server. Before creating future backups, you will want to delete the backup on the server so that it is not included in the new backup. This will cause your backups files to become very large.
 Importing Your Site:
- After successfully exporting your site, you will import it into the new site. You will need to download the backup file to your local drive. This may have been done in Step #4 above. If you haven’t downloaded it to your local drive yet, you can do this from the Backups screen.
- Now you will need to logon to your WordPress admin panel in your hosted site and make sure you have the All-in-One WP Migration plugin is installed and activated.
- You will also need to download and manually install the All-in-one Wp File Extension plugin which is needed to increase the imported file size limit on the hosted site.
- Download the ZIP file (all-in-one-wp-migration-file-extension.zip) and save it to your local drive
- Select Plugins and click the Add New button at the top of the page next to the page title
- Then select Upload Plugin at the top of the Add Plugins page next to the page title
- Browse to locate the all-in-one-wp-migration-file-extension.zip file and Open it
- Click the Install Now button and Activate the plugin
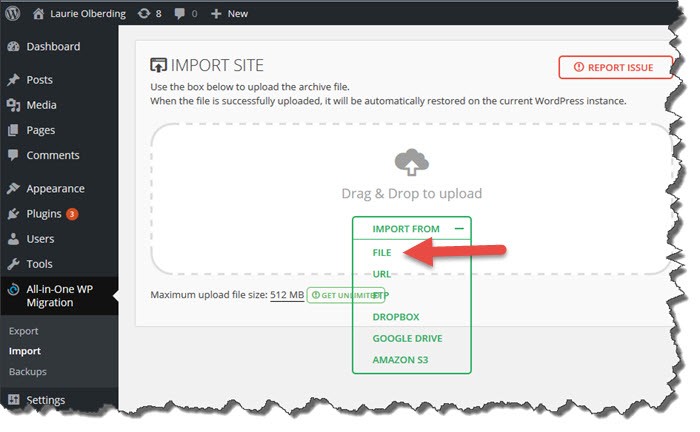
- On the hosted site, go to the All-in-One WP Migration Import screen and select Import From, File. Select your backup file that you saved to your local drive (the file will have a .wpress extension) and Open it.
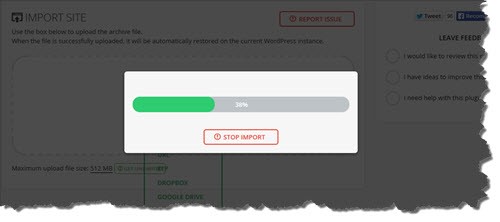
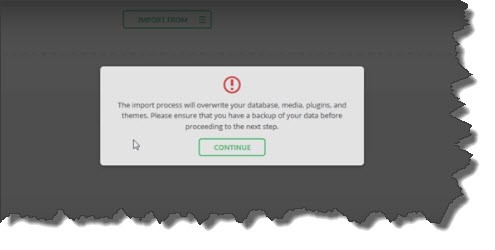
- You will see a progress window showing the progress of the Import process. When it is finished, you will be warned that this will overwrite all of the existing content. Select Continue.
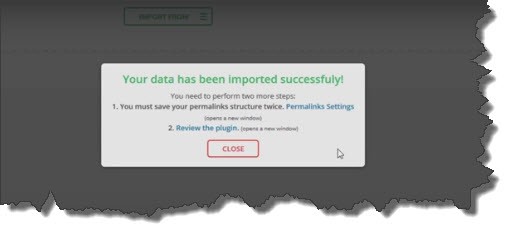
- When it is done, you will get a message informing you that the import has been successful. You will want need to save the Permalinks as prompted. Click the Permalinks Settings. You will be taken to the WordPress logon screen where you will need to log into your WordPress site again. This is because the User information from the site you just imported was copied also. So you need to log in using the Username and Password that you used on the imported site. Go to Settings, Permalinks and click the Save Changes button twice.
- Visit the site and make sure your navigation is working and all content is there.
Updated March 8, 2022